 Installing Selenium For Google Chrome (Windows 10)
This tutorial will show you how to install Selenium for Google Chrome (Windows 10), and optionally Python related dependencies.
Prerequisites:
- Google Chrome Installed on your Windows machine
Guide Outline
Install the WebDriver
WebDriver (ChromeDriver for Chrome) gives Selenium access to control your web-browser.
Check Your Google Chrome Version
Find Chrome version (remember it for later):
… → Help → About Chrome

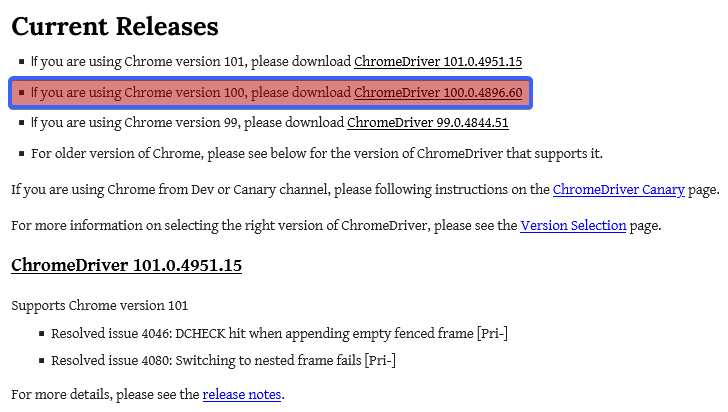
Download the ChromeDriver
- Download the Chromedriver Binary (which matches your Chrome version):
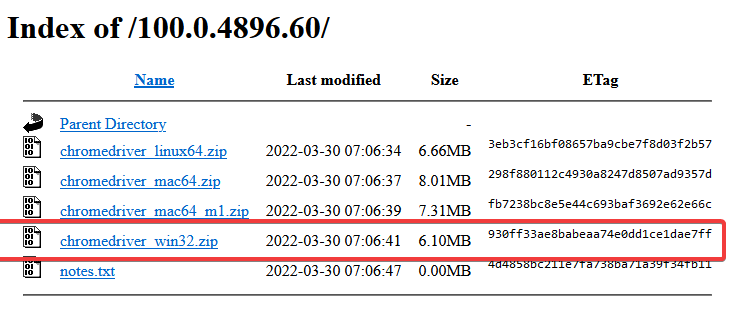
Extract the
chromedriver_win32.zipanywhere.Copy the absolute path to
chromedriver.exe(remember it for later, it is needed for Python and other scripts).

- You can now delete the
chromedriver_win32.zipit will not be needed anymore. Your WebDriver installation is complete.
Python Set-up
prerequisites:
- Python 3 - installed
- pip - Python package manager installed
We will finish the set-up required for running Python based Selenium scripts.
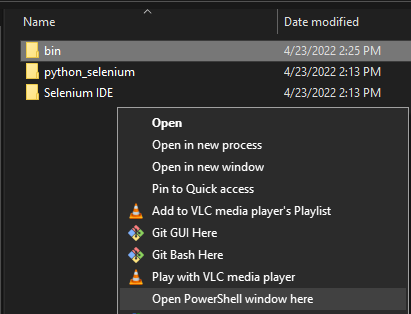
Open PowerShell
Hold shift + mouse2; then click "Open PowerShell window here"
Install Python Selenium Package
In the PowerShell, enter:
pip install selenium
Verify Python Selenium Installation
In the PowerShell, enter:
python
In the Python REPL, enter:
>>> import selenium
If no errors occurred during pip install selenium, and import selenium you are done with your Python set-up.
Remember absolute path to the chromedriver.exe in your Python scripts.