 Issuing and managing client-side SSL certificates with Python

Abbreviations
Key : A piece of cryptographic information used for encrypting data by a chosen algorithm.
Hypertext Transfer Protocol Secure (HTTPS)
Certificate Signing Request (CSR) : A process in which person or server asks for his key being signed. Thus allowing others you verify the key belongs to them.
Certificate Authority (CA) : A person or a server that is trusted and signs your certificates requests.
Client Side Certificate (CSC) : A file given to a user to prove its identity it usually comes in p12 format and is installed into web browsers. CSC are obtained usually by sending a CSR to a CA.
Introduction
Our company has decided to make some of their webpages publicly accessible, but we did not want for anyone to see the actual content of our website. In other words we simply wanted to have a webpage that could only be accessed by our employees.
So we ended up using client side certificates CSC. CSC have been around for relatively long time but until today it yet seems to be not very popular. Use of client side certificates is very useful because you can identify users who want to access your website. It also can be used as good alternative for username and password. Because CSC as mentioned previously helps to uniquely identify user who is connecting to your server.
How CSC are generated
As you know SSL in general is not as trivial. Maybe that is the reason why CSC are not used as often. But I will try to explain using this table below. To make things less convoluted this example contains one certificate authority. In reality, you will probably have two of them. Why? Because one is used to issue a valid HTTPS certificate for your webpage. Even-though you can always use self-signed certificates both for webpage and for a client (that connect to the website) I do not recommend that because, clients will have to go through screen like this:
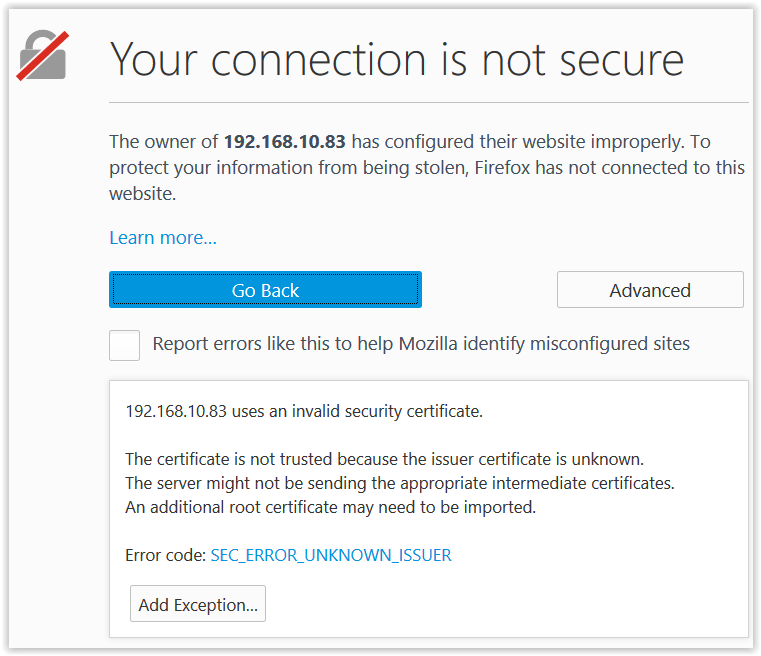
But you probably know that already. And yes you can force your users to install your home brew CA into their root certificate store this will only make things harder for you, because you will only confuse simple users even more.
Certificate Issuing in Detail
NOTE: follow the enumeration.
This example assumes you will be your own CA (a.k.a. Your connection is not secure)
| kitty Certificate Authority (CA) 🔏 | picture-server 🗄 | eager-client 💻 |
|---|---|---|
| 1. Generates private key for him self kitty-ca.key | ||
| 2. Signs his own private key, thus becomes CA | ||
| 3. Step 2. Yields a new file called a certificate: kitty-ca.crt | ||
| 4. Server, generates private key for itself picture-server.key | ||
5. Server wants to prove that his key belongs to him therefore he creates a certificate signing request file |
||
| 6. File generated in step 5. Is made from servers private key and looks like this: picture-server.csr | ||
| 7. Server sends his file to CA | ||
| 8. kitty-ca accepts sent file and generates a certificate for Server: picture-server.crt | ||
| 9. Picture-server takes the new picture-server.crt file and adds it to its Apache or nginx configuration | ||
| 10. Picture-server is ready to prove his identity to client and serve encrypted pictures 🔐 | ||
| 11. Eager-client want, for his pictures not to be available publicly. He wants client-side-authentication (CSA) | ||
12. For CSA eager-client has multiple options: 12.1 Generate private key for himself eager-client.key 12.2 eager-client, needs to prove that his key belongs to him therefore he creates a certificate signing requestfile 12.3 He sends that file to kitty-ca |
||
| 13. kitty-ca accepts sent file and generates a certificate for eager-client: eager-client.crt | ||
| 14. Eager-client converts eager-client.crt to the new eager-client.p12 file and add it to its Firefox, Chrome browsers or adds it to his keychain | ||
| 15. Eager-client connects to picture-server | ||
| 16. Picture-server trusts kitty-ca issued files eager-client.p12 | ||
| 17. Picture-server serves eager-client a webpage full of pictures to an eager-client. |
Translating To OpenSSL commands
Python uses OpenSSL under the hood this means that all Python calls are just wrapped OpenSSL CLI calls, so for simplicity first table above will be dissected and OpenSSL CLI calls and later in Python code.
Step 1.
openssl genrsa -out kitty-ca.key 4096
Steps from 2 to 3.
  openssl req -config openssl.cnf \
  -key kitty-ca.key -new -x509 -days 7300 \
  -sha256 -extensions v3_ca -out kitty-ca.crt
Step 4.
openssl genrsa -out picture-server.key 2048
Steps from 5 to 6.
  openssl req -config openssl.cnf -new -sha256 \
  -key picture-server.key \
  -out picture-server.csr
Step 8.
  openssl ca -config openssl.cnf \
        -days 375 -notext -md sha256 \
        -in picture-server.csr \
        -out picture-server.crt
Step 12.1
openssl genrsa -out eager-client.key 2048
Step 12.2
  openssl req -config openssl.cnf -new -sha256 \
  -key eager-client.key \
  -out easger-client.csr
Step 13. (The actual client side generation part)
  openssl ca -config openssl.conf -notext -md sha256 \
  -in eager-client.csr \
  -out eager-client.crt
Step 14. (Conversion from crt → p12)
  openssl pkcs12 -export \
  -inkey eager-client.key \
  -in eager-client.crt \
  -out eager-client.p12
Summary
By now you should have noticed that what was done is just the same thing three times:
- generate certificate for kitty-ca (signs his own certificate)
- generate certificate for picture-server (kitty-ca signs picture-server's certificate)
- generate certificate for eager-client (kitty-ca signs eager-client's certificate)
In reality eager-client's and picture-server's certificates can be signed by two different Certificate Authorities (CAs) and they will still be able to trust each other. Because client side and server side authentication are not dependent on each other is any way (this example only made it that way). You could even have only client-side certification without HTTPS enabled on your server, and it would still work (client would still be authenticated).
Python Script for Certificate Generation
For running this code on your machine I highly recommend you to install Miniconda this will simplify your installation tremendously since pip, OpenSSL, virtualenv are bundled with Miniconda out of the box.
Once you installed you Miniconda. Restart your terminal app And run the Python script provided below in the gist.
This gist below contains everything you need to Issue your client a certificate and revoke it:
Conclusion
I hope you got a better grasp on HTTPS in general. One thing you should remember is that In client-side setup everyone has to have their own private key and their certificate, because certificates are objects that prove your identity. Not your private keys. Also, private keys do not age meaning you can as for as many certificates you like with the same private key. The only thing that ages is your certificates.
In general all HTTPS initiative can be summarized in 3 simple steps:
- Create your private key
- Create a signing request for your key
- Get a certificate and prove you identity with it